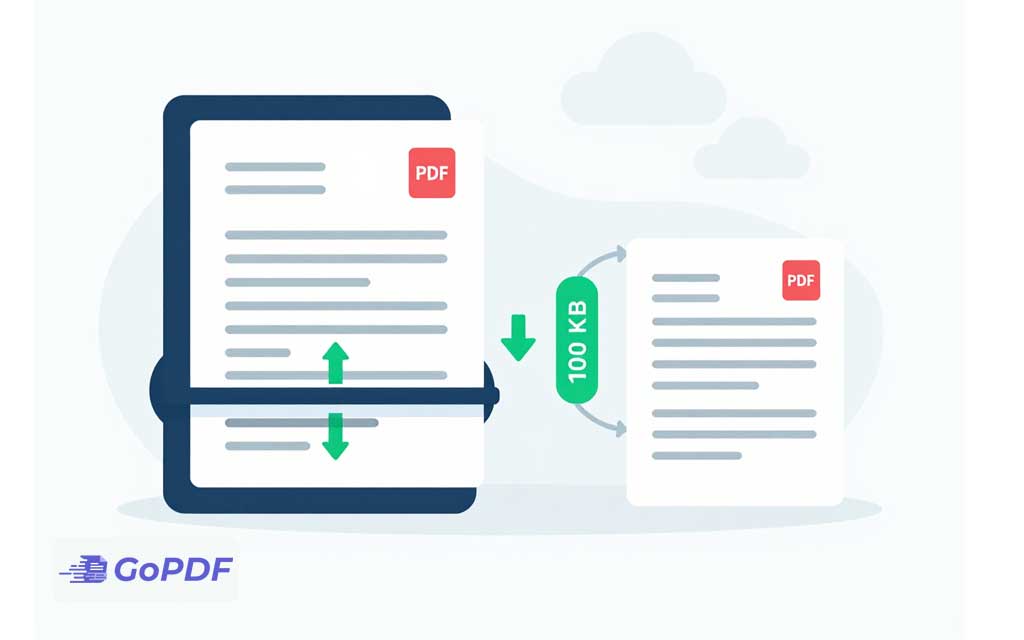
A 100 KB ceiling is one of the most common — and most aggressive — limits you’ll meet online. Government portals, job application forms, visa systems, and exam registration sites routinely cap uploads at 100 KB or even less. It’s a tight budget, and whether you can hit it without wrecking the document depends almost entirely on what’s inside the PDF. Understanding that upfront is the difference between a clean two-minute fix and a blurry, unreadable file.
This guide focuses on the realistic levers, the order to pull them in, and the honest limits of what 100 KB can hold.
What actually fits in 100 KB
File weight in a PDF is dominated by images. Text and vector content are tiny a 10-page text-only PDF can easily sit under 100 KB with no effort. The trouble starts with scanned pages and photos, where each page is a full raster image. A single 300 DPI color scan of an A4 page can be 1–2 MB on its own, so squeezing it under 100 KB means removing 90%+ of its data.
| PDF type | Realistic to hit 100 KB? | Main lever |
|---|---|---|
| Text-only document | Easily | Already small; just strip extras |
| 1–2 page scanned form | Usually, with effort | Downsample + grayscale |
| Photo-heavy or multi-page scan | Hard; expect quality loss | Aggressive downsample, fewer pages |
| Document with a signature photo | Yes | Re-encode the image, drop DPI |
The levers, in the order that works
Don’t just slam a compressor on “maximum” and hope. Pull these in sequence and stop the moment you’re under the limit — every extra step costs quality:
- Downsample image resolution. The single biggest win. For on-screen review, 96–150 DPI is plenty; the form reviewer is not printing your document at photo quality. Dropping from 300 to 100 DPI alone can cut size by 80%+.
- Convert color to grayscale. A scanned form rarely needs color. Grayscale removes two of the three color channels’ worth of data, and black-on-white text reads identically.
- Re-encode images efficiently. JPEG at a moderate quality setting for photographic content; this is where the lossy savings come from.
- Strip the extras. Embedded fonts you don’t need, metadata, thumbnails, and old revision data. Small individually, but they add up against a 100 KB budget.
Resolution is the master dial. Most people reach for “quality” sliders first, but lowering DPI on a scan does far more, far faster, than nudging JPEG quality down.
The scanned-document trap
Here’s the detail that catches people out: a scanned PDF is a picture of text, not text. Compressing it means compressing an image, and image compression that’s aggressive enough to reach 100 KB can blur the very characters someone needs to read. If a portal rejects your file as illegible after compression, the problem is that you crushed a photo of words.
Two ways out:
- Rescan in black-and-white (bitonal) instead of color. A 1-bit black-and-white scan of a text document is dramatically smaller than a color or grayscale one and keeps text crisp. This is the single most effective move for scanned forms and is almost always overlooked.
- Run OCR and consider whether you even need the image. If the document can be a text PDF rather than a scanned image, its size collapses naturally.
A realistic workflow to hit the limit
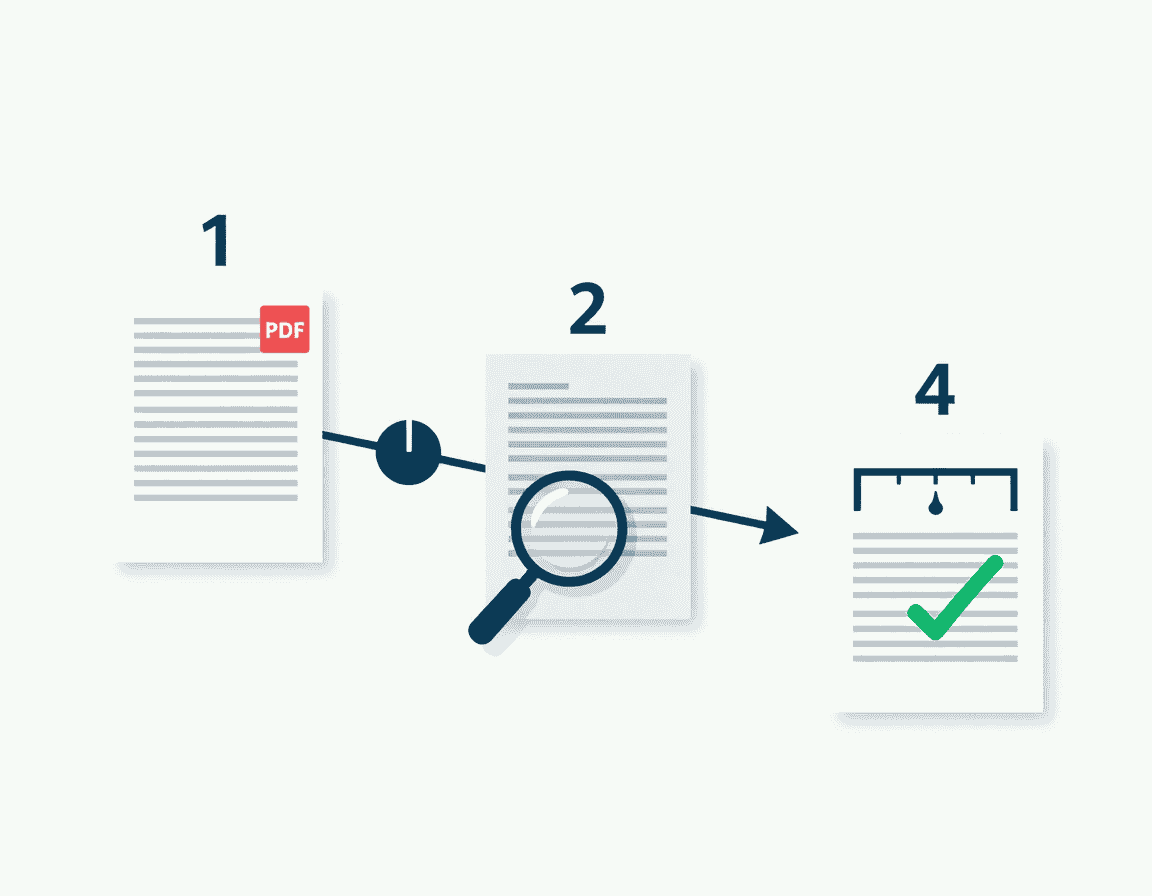
Online compressors are well suited to this because they handle the downsampling and re-encoding for you and let you check the result before you commit. A sensible run:
- Start from the highest-quality original you have — never a file that’s already been compressed once.
- Choose a strong compression / low-DPI setting and convert to grayscale if it’s a form.
- Check the output size and, just as important, open it and read the smallest text on the page.
- If it’s still over 100 KB, drop DPI further or remove unnecessary pages. If it’s under but illegible, ease off and rescan bitonal instead.
Stop tuning the instant you’re under the cap with readable text — there’s no prize for 40 KB if 95 KB looked better.
Using an online tool safely
For sensitive uploads — ID documents, financial forms, anything personal — it’s worth a moment of caution before dropping a file into any website. A trustworthy online compressor should:
- Serve the page over HTTPS/TLS so the upload is encrypted in transit (look for the padlock).
- State a clear retention policy — reputable services delete uploaded files automatically after a short window.
- Not require an account or unnecessary permissions just to compress a file.
If the document is highly sensitive and you’re uneasy about uploading it at all, a tool that processes files locally in your browser, or desktop software, sidesteps the question entirely. Matching the tool to the sensitivity of the document is a judgment worth making deliberately rather than by default.
Common mistakes
- Compressing an already-compressed file. Each lossy pass degrades quality with diminishing size gains. Go back to the original.
- Keeping color on a black-and-white form. Grayscale or bitonal is smaller and just as readable.
- Chasing the limit past legibility. A file the reviewer can’t read fails the actual purpose even if it’s technically under 100 KB.
- Ignoring page count. Fewer scanned pages means a smaller file; remove blank or duplicate pages before compressing.
- Uploading sensitive documents without checking the tool. Confirm HTTPS and a deletion policy first.
Frequently asked questions
Why can’t I get my scanned PDF under 100 KB without it going blurry?
Because it’s an image of text, and reaching that size requires heavy image compression. Rescan in black-and-white (bitonal) or run OCR so the text isn’t stored as a photo.
Does lowering DPI really help that much?
Yes — resolution is the biggest factor in image size. Going from 300 to 100 DPI on a scan can cut the file by 80% or more, and on-screen it looks the same.
Is it safe to compress a PDF online?
Compress PDF for non-sensitive files, generally yes if the site uses HTTPS and deletes uploads promptly. For ID or financial documents, prefer a tool that processes in-browser or use desktop software.
Will compressing reduce the number of pages?
No — compression shrinks data within pages. To cut size by removing pages, delete them separately before compressing.
What if I’m still a few KB over?
Convert to grayscale if you haven’t, drop DPI one more step, or remove any non-essential page. These usually close a small gap without visible damage.