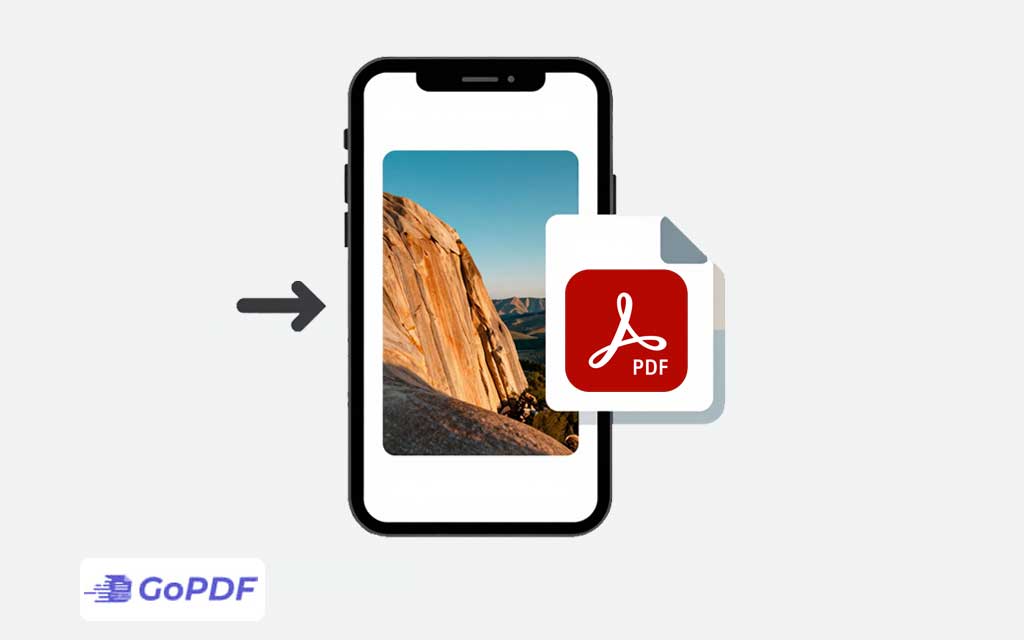
Your iPhone can already turn a picture into a PDF without installing anything you just need to know which of four built-in methods fits what you’re actually trying to do. Converting a single photo, batching several into one file, and digitizing something you photographed off a piece of paper are three different jobs, and each has its own correct answer. Find your situation in the table below, then jump straight to the steps.
Which Method Should You Use?
| Your situation | Best method | App required? |
|---|---|---|
| One photo, need it as a PDF right now | Print trick (Photos app) | No |
| Image is already saved in the Files app | Create PDF quick action | No |
| Several photos that need to become one PDF | Multi-select and save | No |
| A receipt, form, or document you photographed | Notes app document scanner | No |
Convert a Single Photo to PDF Using the Print Trick
This is the quickest route to a free PDF on your iPhone, and it doesn’t require downloading a single thing.
- Open Photos and select the photo you want to convert.
- Tap the Share icon the square with the arrow poking out of it.
- Scroll down and tap Print.
- On the print preview screen, pinch outward with two fingers on the thumbnail. That gesture is what actually forces it into a PDF inside a built-in viewer.
- Tap Share again.
- Tap Save to Files, pick “On My iPhone” or “iCloud Drive,” and tap Save.
Screenshots follow the same six steps without any tweaks, since a screenshot just sits in your camera roll like any other photo.
Turn a Photo Already in Files Into a PDF Instantly
Skip the print trick if your image is already sitting in the Files app maybe you downloaded it from the web, or saved it there in an earlier step.
- Open Files and find the image.
- Long-press on it.
- Tap Quick Actions, then Create PDF.
- A new PDF shows up right next to the original, carrying the exact same file name rename it immediately, or you’ll mix the two up later.
Combine Multiple Pictures Into One PDF
This is where most people trip up. Repeat the Print trick or Create PDF on five separate photos and you get five separate PDFs not the one combined file you were after. If every photo needs to land as its own page inside a single document, use multi-select instead.
- Open Photos and tap Select.
- Tap each photo you want in the PDF, in the order you want it to appear.
- Tap the Share icon.
- Scroll down and tap Save to Files. Print doesn’t come into it this time.
- Pick a location and tap Save.
Every photo you tapped becomes its own page inside one PDF.
Already made the five-separate-PDFs mistake before landing on this page? No need to redo everything with multi-select — Your PDF Tool’s merge feature stitches your existing PDFs into one document in a couple of taps.
Scan a Document or Receipt Instead of Just Photographing It
A receipt, a form, a printed page — if that’s what’s actually in your hand, the Print trick will faithfully preserve every crooked angle and bad lighting choice you made when you snapped it. Notes’ built-in scanner fixes all of that automatically, before the file ever becomes a PDF.
- Open Notes and start a new note (or open an existing one).
- Tap the camera icon, then choose Scan Documents.
- Point your iPhone at the document. iOS will usually detect the edges and capture it on its own — or tap the shutter yourself and drag the corners into place.
- Tap Save.
- Tap the scanned page, tap Share, then Create PDF, or Save to Files.
None of the photo-based methods above will crop, straighten, or boost contrast for you. The scanner does all three automatically.
When Things Don’t Go as Planned
- I don’t see “Print” in the Share Sheet. Its spot shifts depending on your iOS version and how you’ve rearranged your Share Sheet favorites. Scroll further, or tap “More” and look there.
- Pinching didn’t turn the photo into a PDF. You have to be on the print preview screen — the one that shows up after you tap Print — not on the original photo itself. The gesture only does anything there.
- I ended up with five separate PDFs instead of one. You used the Print trick or Create PDF on each photo individually. Go back and redo it with multi-select instead.
- My scanned document is crooked, dark, or hard to read. A physical document went through the Print trick instead of the Notes scanner. Rescan it with Scan Documents and it’ll come out clean.
- The PDF won’t attach to my email. Stack enough full-resolution photos into one PDF and you’ll blow past most email attachment limits fast. Compress PDF before you try sending it again.
- I can’t find the PDF I just made. Open Files and check both “On My iPhone” and “iCloud Drive” under Browse. Which one it landed in depends entirely on what you picked when you hit Save.
Beyond Converting: Editing, Searching, and Merging PDFs
None of the methods above make the text inside a scanned document searchable, or even selectable — they just capture the image exactly as it looked. Need to search, copy, or highlight text from a scanned receipt or form? That takes OCR, optical character recognition, and iOS doesn’t build that in anywhere. Your PDF Tool’s OCR feature adds a searchable text layer on top of any PDF you’ve just created.
Need to merge PDF with others, drop in a signature, redact something sensitive, or shrink the file down before sending it? Your PDF Tool’s editor picks up from there — it’s a next step, not a replacement for anything above. And on the rare occasion you need this same conversion from a laptop or someone else’s phone, Your PDF Tool’s browser-based converter does the job without a single one of the steps above.
Frequently Asked Questions
How do I convert a picture to PDF on my iPhone without downloading an app?
Open Photos, select the image, tap Share, then Print. Pinch outward on the preview to turn it into a PDF, tap Share again, and choose Save to Files. No app, no download, nothing else needed.
How do I save a photo as a PDF on my iPhone?
For a single photo, use the Print trick above. If the image is already sitting in the Files app, just long-press it and choose Create PDF instead.
How do I convert multiple photos into one PDF on my iPhone?
In Photos, tap Select and choose every photo you want, in the order you want them to appear, then tap Share and choose Save to Files — skip Print entirely this time. You’ll end up with one PDF holding each photo as its own page, instead of a pile of separate files.
How do I convert a screenshot to PDF on my iPhone?
A screenshot lives in your camera roll exactly like any other image, so the same Print-trick steps apply — select it, tap Share, tap Print, pinch to open it as a PDF, then save it to Files.